Drawing with a picture plane produced great landscape sketches. Taping the viewfinder, with clear plastic (over head projector transparencies) attached, to the window of the classroom the children draw the scenery outside with whiteboard marker. We have a lovely view of the playing field and trees.
The children then prepared graphite paper (using a graphite pencil lightly rub pencil all over white page as smoothly as possible, then smudge with tissue paper. This gives the paper a grey cover that can be made darker or rubbed off the show light areas). Using the grid they transferred the image from the picture plane onto the graphite paper.
To add to the details they applied darker areas and rubbed off the light areas. The sketches showed perspective and depth. After the sketches were completed the children looked at the scene again and critiqued their composition. Next time we will look at the line of thirds to get more balance between land and sky.
In keeping with the drawing theme and looking at line and shape the class has split into four groups and have begun drawing collaborative murals.
The drawing are on large pieces of cardboard pinned to the wall. Each group selected an artist they liked (Vincent van Gogh, Silvia Siddell and Leonardo da Vinci) They copy pictures of paintings and drawings done by the artist. The murals will be like a collage of the images. Each child starts a drawing, after about 10 minutes of drawing they swap with someone else and continue to draw. They swap many times so each child works on most of the drawings on the mural. This process makes a true collaborative artwork. The children are not precious about their particular drawing and work together to create the overall composition. A work in progress...
The senior children have been identified as someone with an aptitude towards visual art or as someone challenged by academic work and enjoys kinasetic activities. The group has been mixed deliberately to create success in a way not necessarily offered in the classroom. The children participate for one whole day per week for a term.
Wednesday, August 24, 2011
Tuesday, August 23, 2011
Term 3 session 2
Drawing using a picture plane. Materials required for this exercise are: an A4 viewing frame, A4 clear plastic sheet (over head projector transparencies are ideal), masking tape, pencil, paper, eraser, whiteboard marker, tissue for wiping and a window with a view.
First exercise is to talk about a picture plane and how the old art masters used them. Demonstrate by drawing the view on the classroom window with whiteboard mark. To do this keep your head as still as possible (it is amazing how your head moves when you are trying to keep it still), shut one eye, put the marker pen on the window and draw the lines seen in the view. Step back and look at the drawing, you will notice how the drawing shows depth and perspective. Allow the students to give it a go. I also got a student to stand outside on the deck and the children inside draw them on the window. You can really see the likeness in the drawing.Before getting the students to draw their own hand using the picture plane I taught them how to use a graph to copy an image from a picture. (I have learned from experience, that it is important to give them the tools they need before introducing them to new skills.
To draw the hand prepare the view finder by taping the clear plastic on to the view finder and then draw a cross line through the middle - see diagram.
Get students to rest the view finder on their hand. Curl the fingers up and hold the plastic above the inner hand. Now draw the lines of the hand in the plastic using whiteboard marker. When complete place the plastic onto white paper and see the results. If the lines are not correct or if the hand or plastic move, rub the lines out and start again.
Now using the knowledge of using a graph, get the students to copy their hand drawing from the picture plane onto white paper.
The students were amazed at the results and complemented each other on their drawing ability. Nine and ten year old coped with these exercises well.
Next time the students will be drawing everyday objects using the picture plane.
First exercise is to talk about a picture plane and how the old art masters used them. Demonstrate by drawing the view on the classroom window with whiteboard mark. To do this keep your head as still as possible (it is amazing how your head moves when you are trying to keep it still), shut one eye, put the marker pen on the window and draw the lines seen in the view. Step back and look at the drawing, you will notice how the drawing shows depth and perspective. Allow the students to give it a go. I also got a student to stand outside on the deck and the children inside draw them on the window. You can really see the likeness in the drawing.Before getting the students to draw their own hand using the picture plane I taught them how to use a graph to copy an image from a picture. (I have learned from experience, that it is important to give them the tools they need before introducing them to new skills.
To draw the hand prepare the view finder by taping the clear plastic on to the view finder and then draw a cross line through the middle - see diagram.
Get students to rest the view finder on their hand. Curl the fingers up and hold the plastic above the inner hand. Now draw the lines of the hand in the plastic using whiteboard marker. When complete place the plastic onto white paper and see the results. If the lines are not correct or if the hand or plastic move, rub the lines out and start again.
Now using the knowledge of using a graph, get the students to copy their hand drawing from the picture plane onto white paper.
The students were amazed at the results and complemented each other on their drawing ability. Nine and ten year old coped with these exercises well.
Next time the students will be drawing everyday objects using the picture plane.
Term 3 session 1
The students were introduced to copying line drawings placed on the desk upside down. It took a little while for the students to get the hang of just looking at individual lines and not the whole drawing.
My whole objective is to get the students looking at, and copying the lines. The skills used develop spatial awareness. Estimating how long the lines are, how big the are lines, the angle they go, how wide apart they are and where they join each other. The students are then looking very carefully and seeing detail they have never noticed before.
They were given the opportunity to draw several pictures, each time reflecting on their performance and writing what aspect they need to improve next drawing.
Comments included:
I didn’t get the lines long enough’.
I need to look at the angles of the lines, they need to go the proper way”.
I need to estimate where the lines join”.
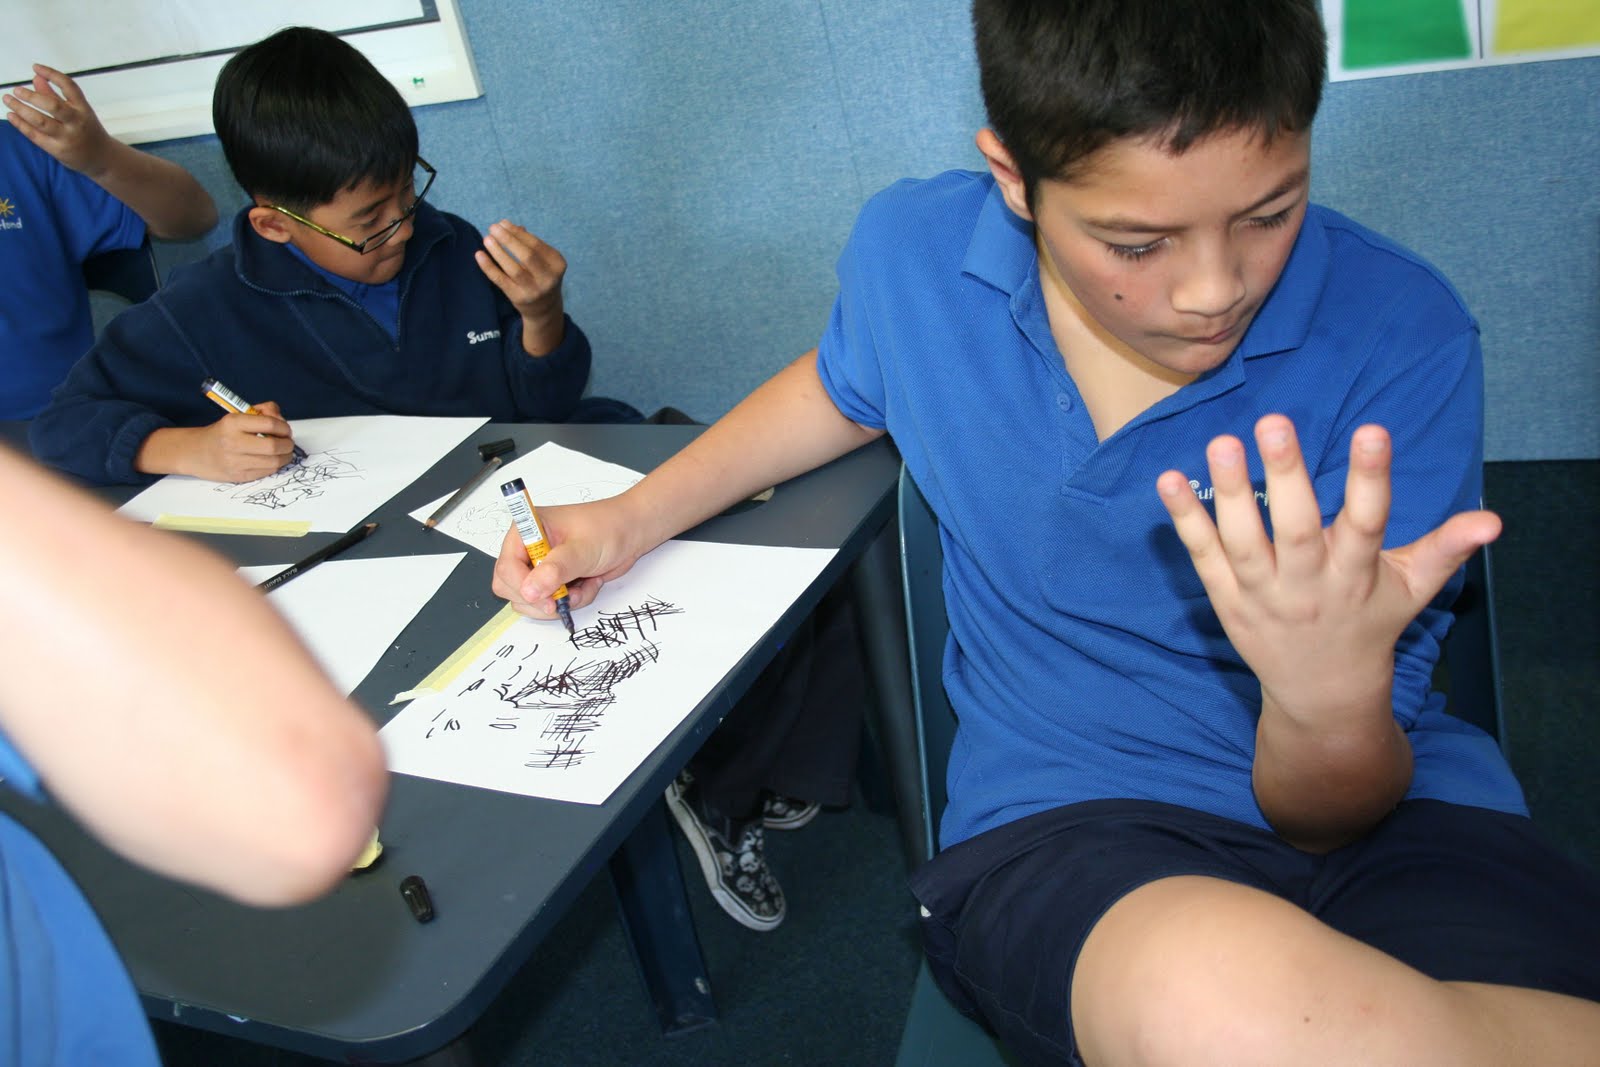
We completed the day with contour sketching. The students looked carefully at their inner hands, they had to follow the lines on their hand with their eye while drawing the information on paper that was taped to a desk behind them. (Taping the paper stopped it from moving). They were not to look a the paper and pencil until after the drawing was complete. The contour lines look like chicken scratches.
We did this exercise several times, once using pencil and white paper, next permanent marker on white paper and the last sketch on coloured card with permanent marker. We used the coloured card as the base for a constructed abstract composition, The students coloured some of the spaces with pencil, and some with permanent marker. Next they cut or ripped parts of the other two drawing and glued them onto the card. This exercise was done to take a break from drawing reality and to be free from the restricts that brings.
My whole objective is to get the students looking at, and copying the lines. The skills used develop spatial awareness. Estimating how long the lines are, how big the are lines, the angle they go, how wide apart they are and where they join each other. The students are then looking very carefully and seeing detail they have never noticed before.
They were given the opportunity to draw several pictures, each time reflecting on their performance and writing what aspect they need to improve next drawing.
Comments included:
I didn’t get the lines long enough’.
I need to look at the angles of the lines, they need to go the proper way”.
I need to estimate where the lines join”.
We completed the day with contour sketching. The students looked carefully at their inner hands, they had to follow the lines on their hand with their eye while drawing the information on paper that was taped to a desk behind them. (Taping the paper stopped it from moving). They were not to look a the paper and pencil until after the drawing was complete. The contour lines look like chicken scratches.
We did this exercise several times, once using pencil and white paper, next permanent marker on white paper and the last sketch on coloured card with permanent marker. We used the coloured card as the base for a constructed abstract composition, The students coloured some of the spaces with pencil, and some with permanent marker. Next they cut or ripped parts of the other two drawing and glued them onto the card. This exercise was done to take a break from drawing reality and to be free from the restricts that brings.
Sunday, August 7, 2011
Costumes into the Auckland Trash to Fashion Finals
Congratualtions to the students who had 4 costumes selected for the Auckland Trash to Fashion finals. The finals are a full dramatic production held at the Corban's Estate Art Centre in Henderson in September. This has been a great achievement and everyone at Summerland are proud of them.
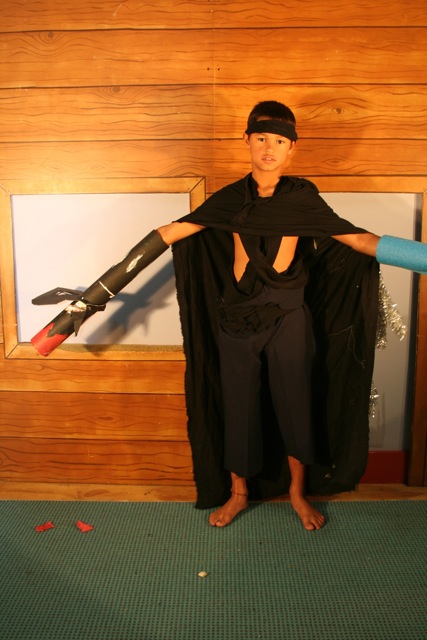
An alien mother giving birth to a baby
The Mad Hatters tea party, the table setting
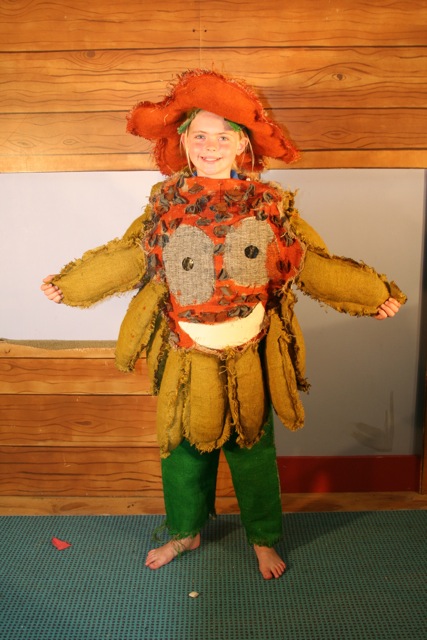
The gnome at the bottom of your garden
The happy fish
An alien mother giving birth to a baby
The Mad Hatters tea party, the table setting
The gnome at the bottom of your garden
The happy fish
Thursday, May 26, 2011
Finished Costumes
Yes, the costumes are finally finished in time to enter the Auckland Trash to Fashion competition.
Most of these costumes took 70 hours or more to make. The skills these students have learned are wide and varied: thinking, design, problem solving, decision making, perseverance, communication, team work, sewing by hand and with machine, weaving, and construction to name the obvious skills.
Wednesday, March 30, 2011
Making costumes continues
The students are well into making their costumes. It is very important to sit down and reassess the progress made at the beginning of each session. This helps focus the students and they are able to set plans and goals for work to achieve in the session. This part of the day has focused the students and reduced them jumping from one thing to another and/or not completing parts of the costume. Likewise at the end of the day they write a reflection on their performance (did they achieve their goals), the problems they en-counted and how they solved them.
Confidence is growing when using the sewing machine, hand sewing and gluing. The students are now helping each other with advice on how to do things, reinforcing boxes, sewing flowers, weaving and doing paper mache.
The work goes on...
Confidence is growing when using the sewing machine, hand sewing and gluing. The students are now helping each other with advice on how to do things, reinforcing boxes, sewing flowers, weaving and doing paper mache.
The work goes on...
Thursday, March 3, 2011
Started making costumes
The children chose the learn to sew by hand or knit. We spent the first half to the morning learning our new skill. The sewing was done with sacking and wool. Most children mastered that well and even sewed on buttons. Two girls persevered with the knitting and even taken it home. Several children were shown how to weave flax flowers, after they had a lesson in the flax family, who to cut and how. They found the weaving quite hard and will have to be shown again.
I was able to conference with each group and focus them on the tasks or objects they need to make first. The room was a mess, but everyone was engaged in making. A very busy hum filled the room. At the end of the day some of the groups had achieved learning a new skill and putting it into practice making part of the costume. One group spent all day making a mask only to have it collapse because it was not reinforced adequately. Great learning curve for those two.
Subscribe to:
Posts (Atom)