Showing posts with label drawing with the right side of the brain. Show all posts

Thursday, August 25, 2011

Term 3 session 4

After a warm-up drawing grid pictures we got onto discovering positive and negative shapes. Some children realised straight away that the space around an object is the negative space/shape and the object is the positive one.
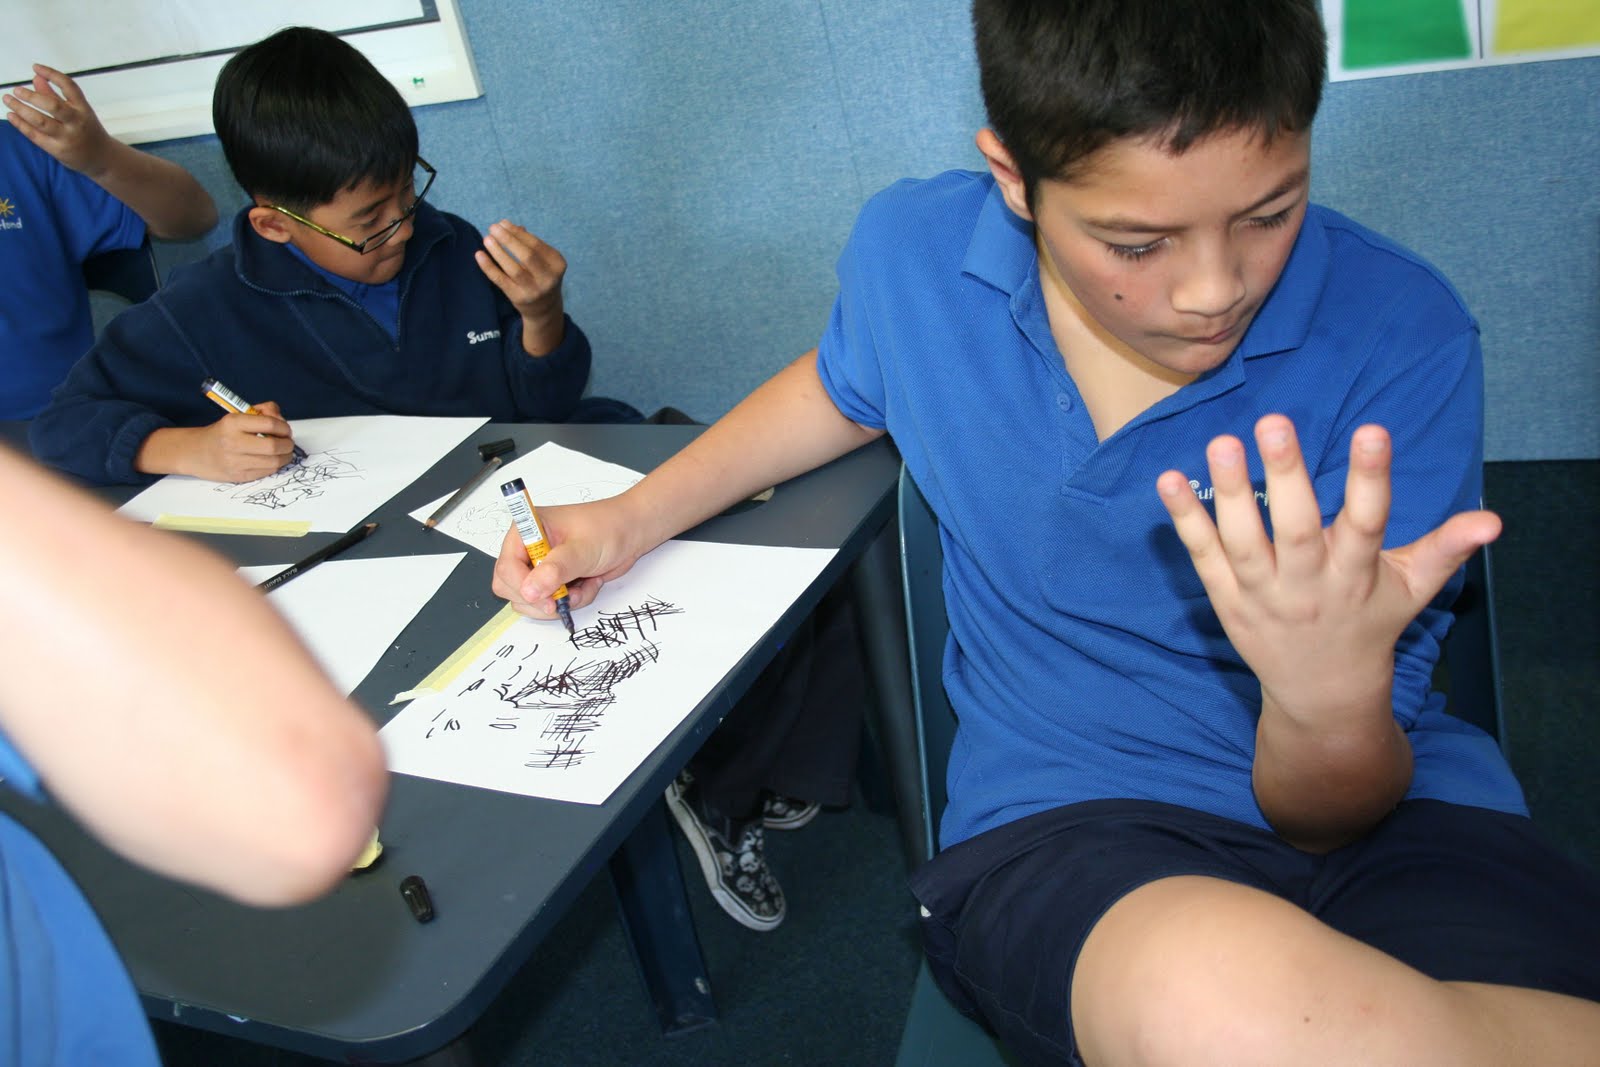
The children chose an object and drew it as a positive shape. By the results this was do with the left hand brain, you could tell what the object was but is was not accurate. Next they drew the air around the object (the negative space) and coloured in the space leaving the image of the object blank. This was just done with pencil. To encourage the children to be bolder in applying the lines and colouring, we then used indian ink and wooden skewers. The negative shapes they produced were far more accurate.
By concentrating on the negative space the left hand brain is quiet (does not like this concept of thinking) and the right brain does the observing. I am thinking that by using indian ink (an unfamiliar medium) the left brain can not cope allowing the children to really concentrate on the spaces.

Continuing with using the picture planes we drew a portrait of each other and transferred them onto graphite paper. This was a challenge for some, but the final product also showed me I need to do teaching on shadow and light, and the shape and construction of facial features.

The initial sketching on the collaborative murals have nearly been completed. The children have decided on how they are going to colour them. Progress...


Wednesday, August 24, 2011

Term 3 session 3

Drawing with a picture plane produced great landscape sketches. Taping the viewfinder, with clear plastic (over head projector transparencies) attached, to the window of the classroom the children draw the scenery outside with whiteboard marker. We have a lovely view of the playing field and trees.
The children then prepared graphite paper (using a graphite pencil lightly rub pencil all over white page as smoothly as possible, then smudge with tissue paper. This gives the paper a grey cover that can be made darker or rubbed off the show light areas). Using the grid they transferred the image from the picture plane onto the graphite paper.
To add to the details they applied darker areas and rubbed off the light areas. The sketches showed perspective and depth. After the sketches were completed the children looked at the scene again and critiqued their composition. Next time we will look at the line of thirds to get more balance between land and sky.


In keeping with the drawing theme and looking at line and shape the class has split into four groups and have begun drawing collaborative murals.
The drawing are on large pieces of cardboard pinned to the wall. Each group selected an artist they liked (Vincent van Gogh, Silvia Siddell and Leonardo da Vinci) They copy pictures of paintings and drawings done by the artist. The murals will be like a collage of the images. Each child starts a drawing, after about 10 minutes of drawing they swap with someone else and continue to draw. They swap many times so each child works on most of the drawings on the mural. This process makes a true collaborative artwork. The children are not precious about their particular drawing and work together to create the overall composition. A work in progress...

Tuesday, August 23, 2011

Term 3 session 1

The students were introduced to copying line drawings placed on the desk upside down. It took a little while for the students to get the hang of just looking at individual lines and not the whole drawing.
My whole objective is to get the students looking at, and copying the lines. The skills used develop spatial awareness. Estimating how long the lines are, how big the are lines, the angle they go, how wide apart they are and where they join each other. The students are then looking very carefully and seeing detail they have never noticed before.

They were given the opportunity to draw several pictures, each time reflecting on their performance and writing what aspect they need to improve next drawing.
Comments included:
I didn’t get the lines long enough’.
I need to look at the angles of the lines, they need to go the proper way”.
I need to estimate where the lines join”.

We completed the day with contour sketching. The students looked carefully at their inner hands, they had to follow the lines on their hand with their eye while drawing the information on paper that was taped to a desk behind them. (Taping the paper stopped it from moving). They were not to look a the paper and pencil until after the drawing was complete. The contour lines look like chicken scratches.
We did this exercise several times, once using pencil and white paper, next permanent marker on white paper and the last sketch on coloured card with permanent marker. We used the coloured card as the base for a constructed abstract composition, The students coloured some of the spaces with pencil, and some with permanent marker. Next they cut or ripped parts of the other two drawing and glued them onto the card. This exercise was done to take a break from drawing reality and to be free from the restricts that brings.